It’s a special gift for…… my daughter! One gift that I’m pretty sure she will keep as a great memory of her childhood, the time she really enjoys writing and drawing…. and I made these fabric journals (Traveler’s notebook style) using her drawings on the cover. Isn’t that unique? A gift like that, made from the heart, is definitely not sold in stores! Do you have a daughter, a granddaughter that likes drawing? Take a look at this idea, and you can adapt it to any other cartonnage project you want and make a special gift for her!


Well, Clara is 11 years old, and she LOVES drawing, she spends so many time in her room drawing, painting, drawing, painting…… she has lots of beautiful drawings. When I saw the dolls she started drawing (she learned how to draw watching videos), I fell in love for those dolls. She keeps drawing the dolls, and they all start the same way, but at the end, they are completely different and unique. So, I asked her if I could do something with her draws and she was so excited to see what I would be doing…..


Ok, so, I have chosen 2 of her dolls to make some journals with a “notebook traveler’s” style, because I love this kind of journal. She will be able to add pages, to remove pages, to add more pockets, stickers, well…. She will be able to write, to draw, to keep memories of travel’s…. and so much more! Then, let’s see how I did it. (not a complete tutorial here, but I think you will get the idea)
To start, I scanned her drawing in my printer and then print it on fabric. There is some kind of sheets of fabric ready to print in ink printers, but I didn’t have at home, and so I decided to do the way I sometimes do. I cut a plain white fabric a little bigger than a letter copy paper, then, I applied glue all over the copy paper, glue the fabric on it. Pressed very well and then let it dry under some heavy books for about 1 hour. Then, I trim the fabric the same size of the copy paper, and that’s it, I printed on it! Then I used a very good scissors to cut the drawing all around. This drawn now has a paper on the back!

Next, I decided to have even more fun and hand paint some fabric. I started with a commercial black batik and then using stencils, I figured out the position I would like to have the doll on the cover, and paint some details on the fabric. I think this made the fabric much more attractive! I used the same colors she painted in her drawing. For the orange one, I had some fabric that I hand dyed last year, then I did the same, used some painting and with stencils I painted some details on the fabric. Look at how different the fabric is just for adding these small details (super easy and quick!) Thanks, Lynn Hodge for opening up this whole new world for me. Lynn is teaching us how to paint on fabric in my book Cartonnage Basics & Beyond – a great contribution to the book.


When the fabric dried, I ironed to make sure the paint will stay on the fabric. Then was time to start making the cartonnage project. A cover for a journal (TN style). I cut all the pieces of chipboard (I used a 75pt chipboard here), posterboard and kraft paper, grabbed all the materials and made the cover. (as I said, this is not a complete tutorial, if you want that I make a video showing how to make this journal, comment below, I will be considering doing it soon!).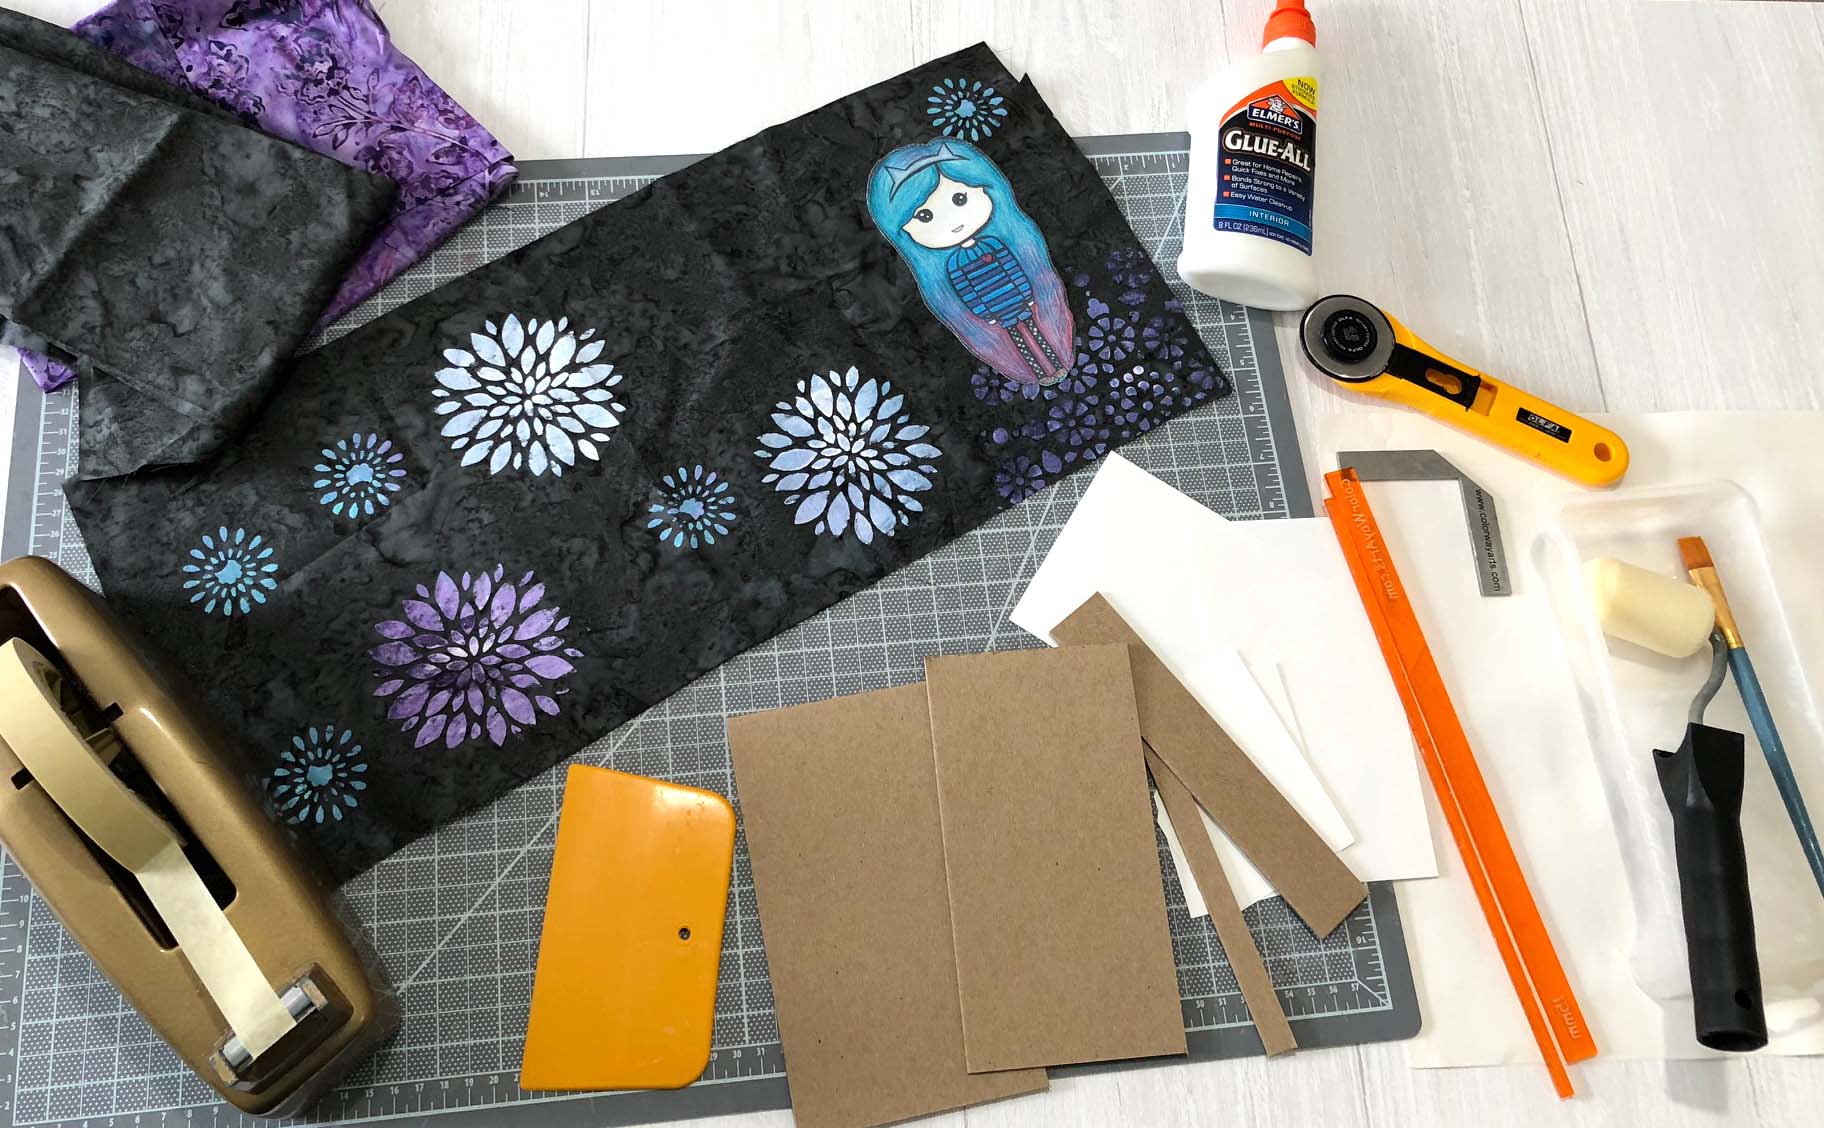

With the cover ready to cover with fabric, I figured out the position I want the dolls to be applied, and I first glue them on the position using the same glue we always use (Glue-All – Elmer’s). After pressing very well, and making sure it was well glued, I made some stitches over (the doll will not go anywhere after been glued, but I did the stitches for fun and because I like the finishing plus, I need to practice on my sewing machine!) (if you want to do something similar but want to do more stitches I recommend you to use a very thin interface on the back of the fabric – the exact size of the piece of paper you will glue it over)


Then, with the dolls fixed, I finished the covers, gluing the fabric over, making the pockets and putting all together. If you follow my work you know, we need to add masking tape for the drying time. So, after removing the masking tape, I was able to make the holes, apply the eyelets and then the elastic! (So many colors, so fun to make this project!). To make the holes, in this case, I used one Crop-a-Dile big bite, because of the position of the central hole.


 Here are the covers ready, with the eyelets fixed and then with elastic. Oh at the end I decided to apply a thin layer of Mod Podge (for fabric) over the drawn, as she will be using a lot and I don't want to get it dirty!


Next, I made some inserts to add to the journal. This is a personal size traveler’s notebook, with four elastics inside to add inserts. So, I did four journals for each, using some scrapbook paper as covers, and also made one “pocket” out of a file folder. Another fun part of the project! Again, I’m not explaining all here, but if you want to know how I did, comment below!


And, then…. the journals are ready to give to my lovely daughter! So special, so unique!!


I hope you like the idea! As I said, you can do the same with pictures, drawings…. Print them in fabric and add to your cartonnage projects! You will have so much fun, and the person who you will give it to will love it!
If you want to learn more about Cartonnage technique, check my website and my online school. Thanks!
#fabrictravelersnotebook #cartonnage #handmadejournal #handmadegift